Learn How to Take Real Estate Photos for Your Listing
We’ve all seen those real estate listing photos: The ones with a shiny tile floor, and a toilet that looks like it will eat you alive. Or the house that’s surrounded not just by trees and bushes, but also the neighbor’s trash can. Yet what we really want to see is a room bathed in natural light; one where the house looks spacious, clean, and inviting. Good photos will help your property sell more quickly—and for more money.
If you’re a real estate agent, you’ve probably heard that listing photos are one of the best ways to increase your sales. They can make a huge difference in whether or not a potential buyer decides to view a property.
There are many things that go into the making of effective real estate listing photos. But if you want to learn how to take good listing photos, there’s no better place to start than with these tips below.
This guide includes our top real estate photography tips for taking great listing photos every time.
Use Natural Light in your Real Estate Photos
One of the most important factors that real estate photographers use when taking listing photos is natural light. If you take your photos in direct sunlight, you’ll have beautiful, bright images that will make your clients feel like they’re at the property. If you use artificial light (such as a flash), however, your photos will look dark and lifeless because it washes out all of the colors and creates harsh shadows on any imperfections in either the house or its surroundings.
If there’s one thing to remember when using natural light, it’s this: try not to shoot directly into a window unless there’s no other option!
As much as possible, try to shoot with reflected sunlight rather than direct sunlight shining through windows; otherwise, it can be hard for potential buyers who are looking at these pictures online later on their computers or smartphones (or tablets) where glare may be an issue even if they don’t notice when viewing them on larger monitors like those found at real estate agencies’ offices during showings.
Try HDR for Exterior Pictures
If you’re shooting an exterior of a house, consider using HDR. This is a technique for taking several photos with different exposures and then combining them to create a single image. It can help you expose both the bright and dark areas of a photo.
The way it works is that you take three photos: one for the shadows, one for the mid-tones, and one for highlights. The software does its best to get everything right in each shot by improving contrast and brightness on either side of neutral gray (18% or 0%). In addition, it reduces noise and removes imperfections like lens flares or other artifacts from the scene.
If you don’t have an HDR camera on hand, no worries! You can just take two photos instead—one exposed correctly and another over-exposed by two stops so that there’s enough detail in both light areas (shadows) and dim ones (bright spots).
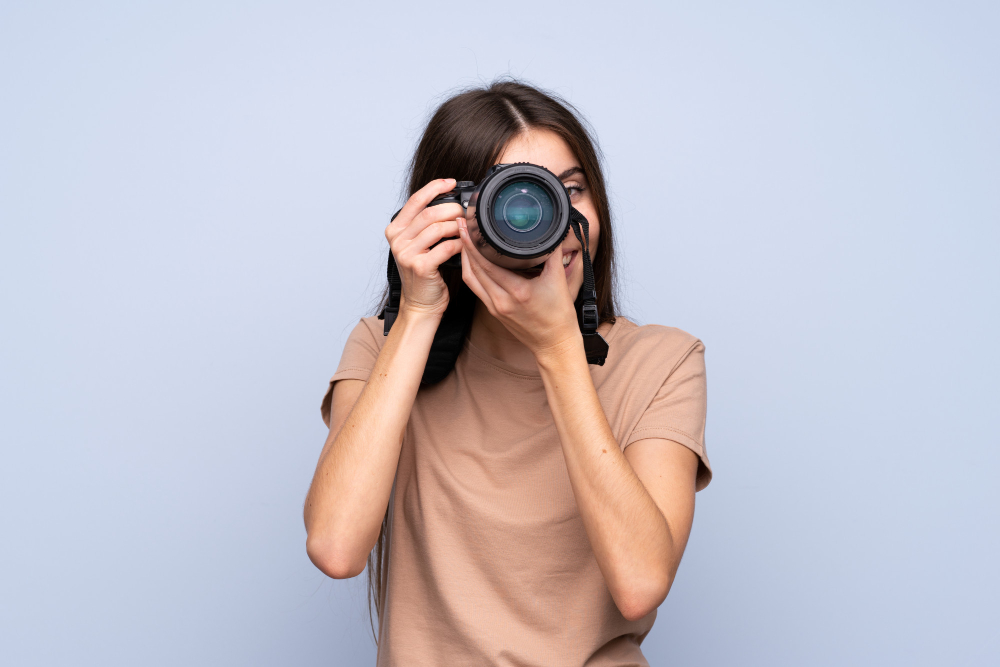
Use the Right Equipment for Real Estate Photography
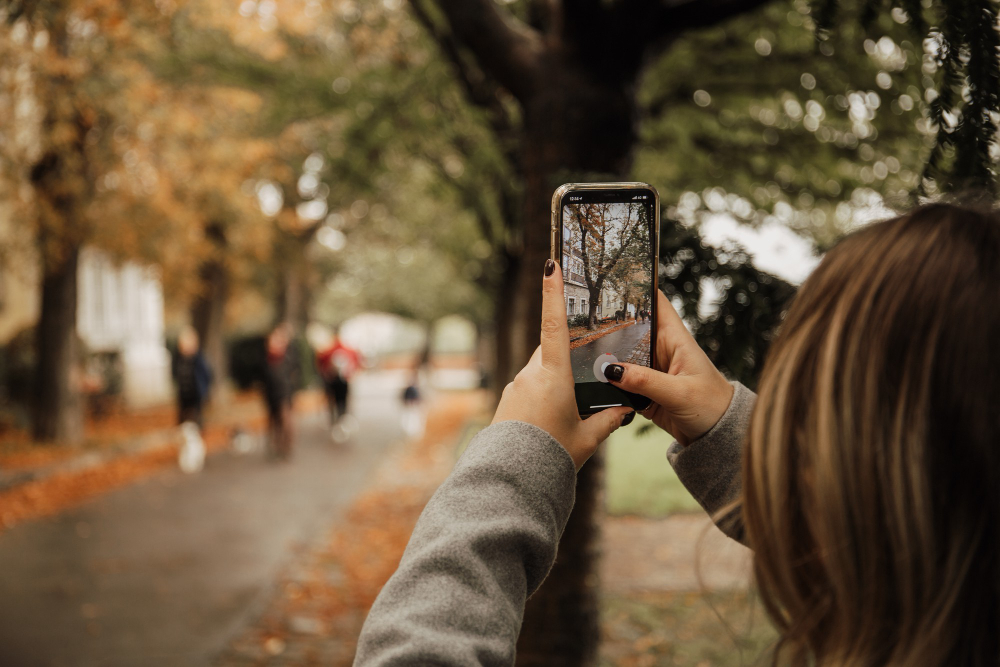
You don’t need an expensive camera, professional equipment, or a real estate photography business to take good listing photos. But it does help if you have a decent point-and-shoot camera or even your smartphone. Just make sure that it has manual exposure settings so you can control how much light gets into the lens.
If you have a DSLR, then this might be another step up from your usual point-and-shoot camera. DSLRs give more control over shutter speed and ISO settings — which is great for low-light environments like kitchens or bathrooms.
You’ll also want to use a tripod so that you can get your camera straight down on the floor without having to adjust it every time you take a photo. This will give you consistent angles and help keep your photos looking professional and consistent just like how a professional real estate photographer does it.
Have Appropriate Lighting for Interior Rooms
When taking photos of interior rooms, there are many different factors to consider. These include the type of lighting available and how that affects your photos. You’ll want to make sure you understand how each type of light will influence your shots so that you can optimize them for maximum quality.
- Natural Light: When shooting indoors with natural light, take advantage of the sun’s position during different times of the day. “Early morning” or “late afternoon” are ideal times for natural light because the sun isn’t directly overhead in either case, which allows for more visible detail across a room.
- Artificial Lights: If you have access to artificial lighting (such as lamps), use this instead if possible because it typically produces better color saturation than sunlight alone does due to its higher Kelvin temperature rating (more on Kelvin ratings later). Always check with clients before turning any lights on though; some clients prefer not to have their home photographed under any conditions!
Make Sure the Space is Clean and Tidy
The best way to ensure that your listings look great is to plan ahead. Make sure the space is clean and tidy, without clutter. A messy room will distract from the beauty of the home and make it more difficult to showcase its features.
If you have time before shooting real estate photos, take some time to arrange furniture. If not, consider using a white or black backdrop to help highlight rooms that have furniture and accessories in them.
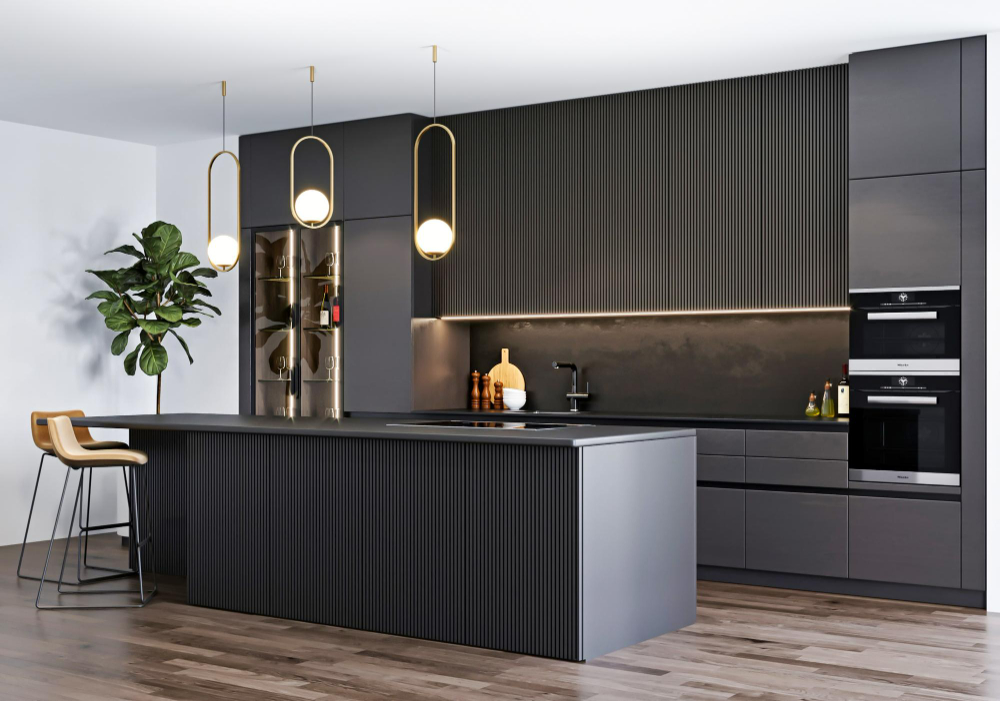
If you’re taking photos of a kitchen or bathroom, make sure there’s nothing out of place — even things like toothpaste caps can be distracting when they’re visible in photos. Also try to avoid having people in your shots, as this distracts from the appeal of each room.
Take Advantage of all Angles (and Rethink Perspective like a true Real Estate Photographer)
Before you begin setting up your shots, be sure to take a look around the house and consider all its various angles. While it might be tempting to zoom in on a gorgeous kitchen or master bathroom, don’t forget about other areas of the property that will help sell the home. For example:
Take photos of both the inside and outside of your home
This gives buyers a much better idea of what they can expect when they move in. This also allows buyers to see a variety of rooms from different angles and help them imagine themselves in the home.
Take photos of every entrance (the front door is important)
Take photos of every entrance and make sure you get an aerial view of the property. This will give buyers a better sense of how big the space actually is, and help your home stand out from other listings on the market. Make sure you can see the street or driveway and that there is some greenery around the house (if possible). Also, take pictures from the backyard too.
Include photos of furniture
A picture is worth a thousand words, but it’s worth even more when it includes furniture and other items that demonstrate how roomy or spacious the property is. It also helps potential buyers visualize themselves living at your listing.
Get down Low
If possible, take low-angle shots of your listing. This helps eliminate large spaces above the subject matter (such as ceilings), making it easier to focus on what matters most — the property itself!
Fill up the frame
In shooting real estate photography, make sure everything in your photo fills up as much space as possible without getting cut off by the edge of the frame, which can make an image look unprofessional. Also, keep in mind that some software programs like Adobe Photoshop have cropping tools that can help fix this problem after you’ve taken your photos. Use a wide-angle lens if possible.
Taking good photos can help real estate agents sell a house
You’re a real estate agent and you want to sell your client’s home quickly and for as much money as possible. What can you do?
A great listing photo will help your client sell their house and lot faster and for more money. If a potential buyer falls in love with the photos of your listing, they are likely to fall in love with the house itself.
Real estate agents should always be looking for new ways to improve their business and make their clients happy. Taking the best real estate photos is one of the best ways to do this. A home buyer is much more likely to be interested in a house with good photos than one without them. These tips will help you ensure that your next listing has great pictures!